Configuring Document Branding & Numbering
Every document you send to a client is a representation of your business. The Evolvv invoice customization platform provides a centralized settings hub to ensure all your generated invoices, purchase orders, and credit notes reflect your unique brand identity perfectly.
From setting dynamic numbering sequences for accounting compliance to uploading high-resolution logos, configuring these global settings ensures consistency across your entire financial workflow.
Here is a step-by-step guide to configuring your Branding & Numbering settings.
Step 1: Company Information & Tax Details
Navigate to the Branding & Numbering tab on your left-hand Invoicing menu. The first section defines the core identity printed on all documents.
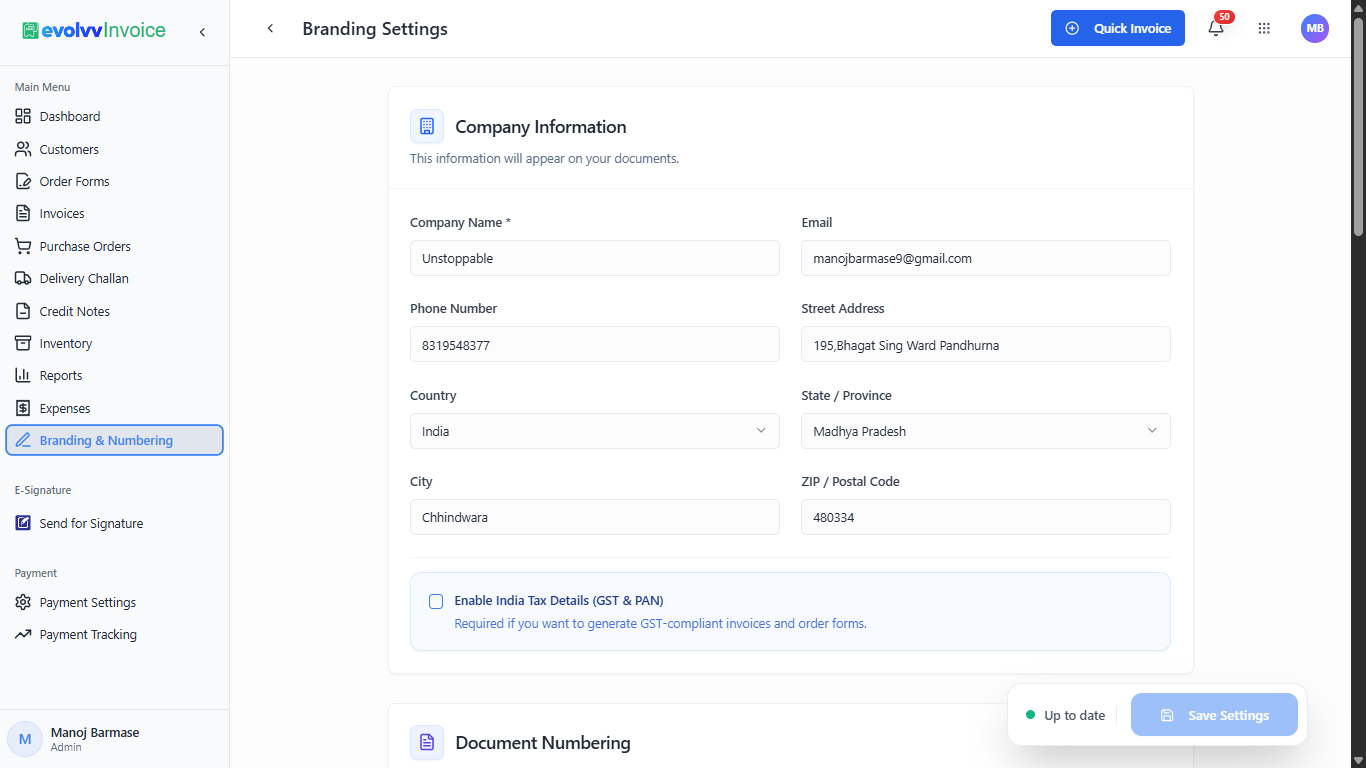
- Company Profile: Enter your official Company Name, Email, Phone Number, and complete Address. This data populates the sender header on all templates.
- Tax Compliance: For users in India, toggle Enable India Tax Details (GST & PAN). This is a critical step; enabling this adds dedicated fields for your GSTIN and PAN, which are mandatory for generating legally compliant B2B tax invoices.
Step 2: Numbering Sequences & Brand Colors
Scroll down to configure how your documents are sequentially tracked and visually presented.
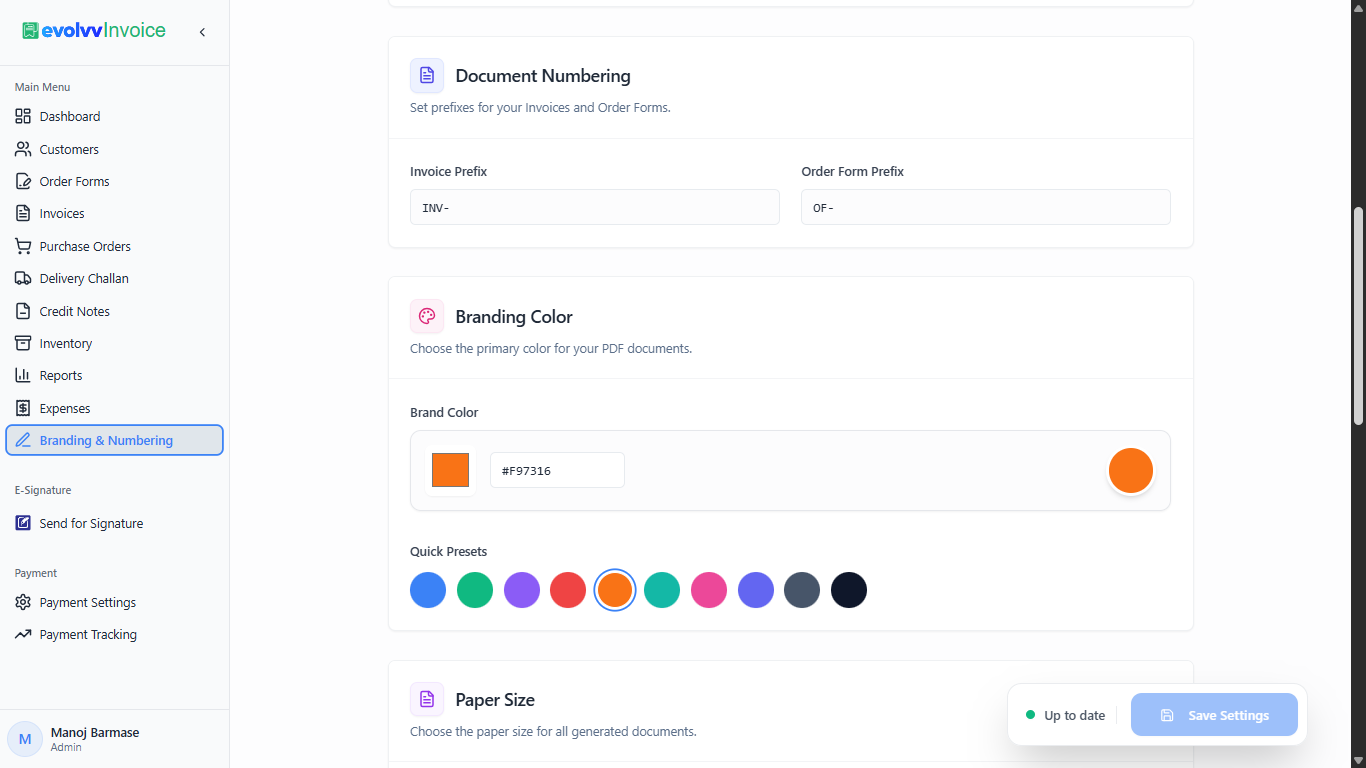
- Document Numbering: Set specific prefixes for your documents to aid internal tracking (e.g., setting the Invoice Prefix to
INV-and Order Form Prefix toOF-). The system will automatically append sequential numbers (e.g., INV-0001) to these prefixes for every new document created. - Branding Color: Select the primary color theme for your PDF documents. You can use the color picker, enter a specific HEX code to match your corporate branding exactly, or choose from the quick presets. This color will highlight headers, total blocks, and primary borders.
Step 3: Paper Size, Logos, and Signatures
The final sections handle the physical layout and authoritative elements of your documents.
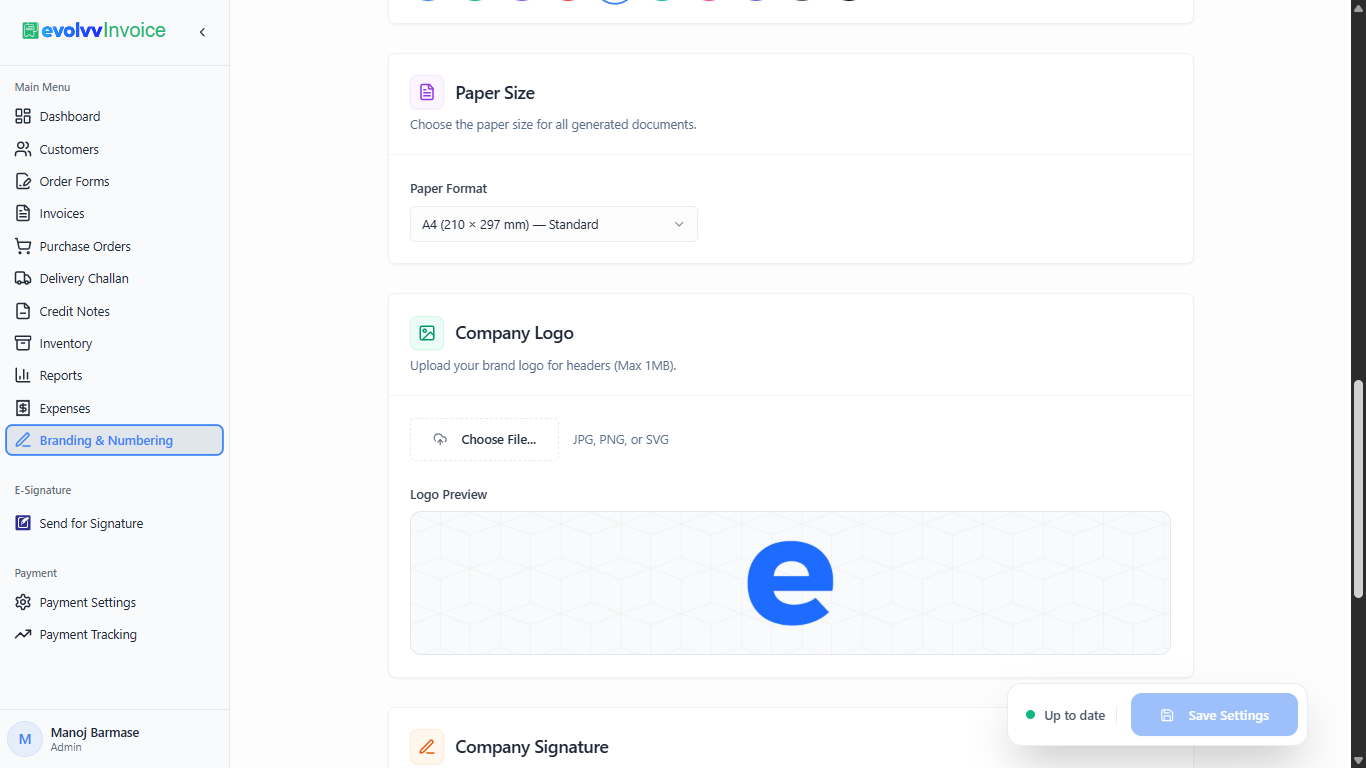
- Paper Size: Select the standard output format (typically A4) to ensure your PDFs print perfectly without scaling issues.
- Company Logo: Click Choose File to upload your high-resolution brand logo (JPG, PNG, or SVG, max 1MB). This logo will be dynamically placed in the header of all your generated documents. A live preview will confirm the upload.
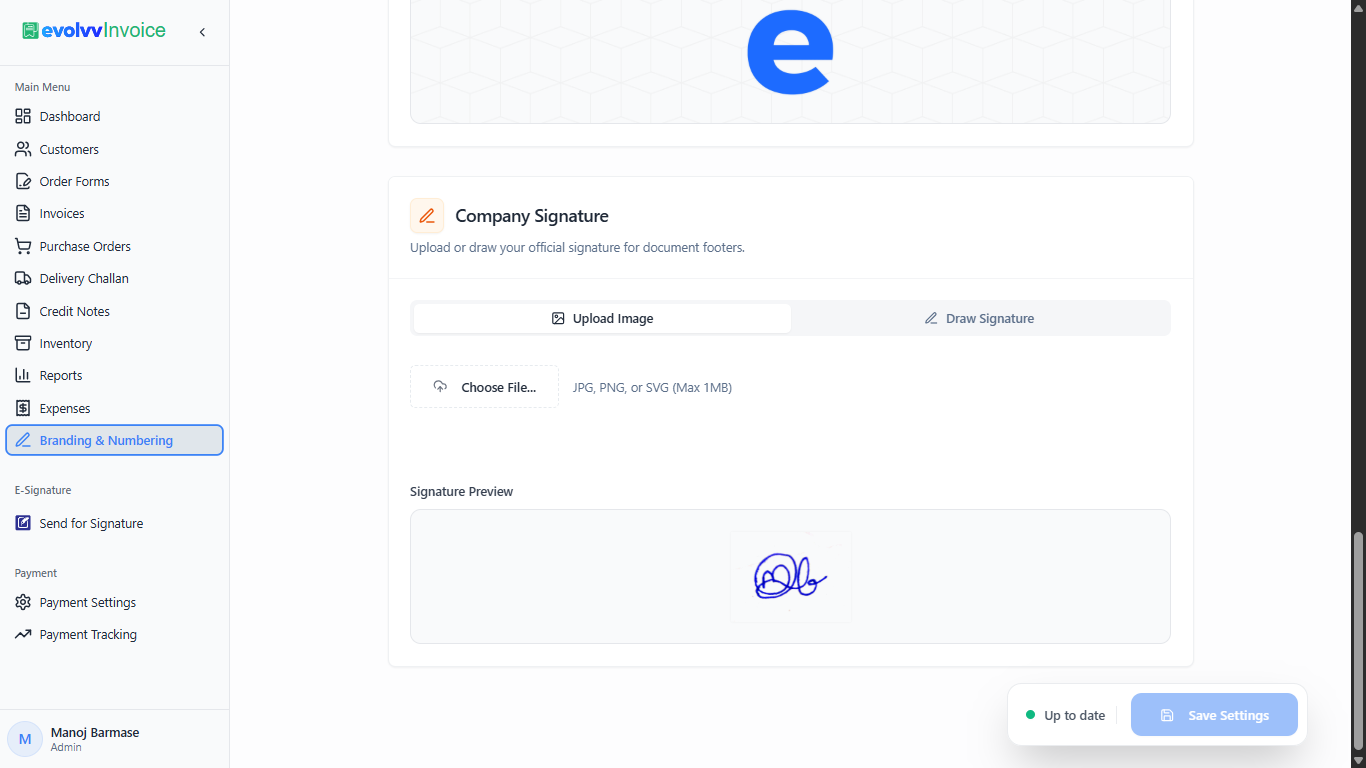
- Company Signature: To prevent the manual task of signing every document, you can digitize your signature. Choose to either Upload Image (a scan of your physical signature) or use the Draw Signature tab to sign directly on your screen. This signature will automatically appear at the bottom of your invoices, delivery challans, and receipts.
Once all sections are configured, click the blue Save Settings button. Your new branding rules will immediately apply to all future documents generated within the hub!