Getting Started with the E-Signatures Dashboard
Say goodbye to printing, scanning, and physical paperwork. The Evolvv electronic signature platform allows you to execute legally binding agreements in seconds.
Whether you are sending a standard Non-Disclosure Agreement (NDA) or a complex Master Service Agreement (MSA), the E-Sign module keeps your documents secure and your workflows organized.
Here is a complete tour of your E-Signatures workspace.
1. The E-Sign Dashboard (Your Command Center)
When you open the E-Signatures module from the Hub, you land on the main Dashboard. This page gives you an instant overview of your signing activity and usage limits.
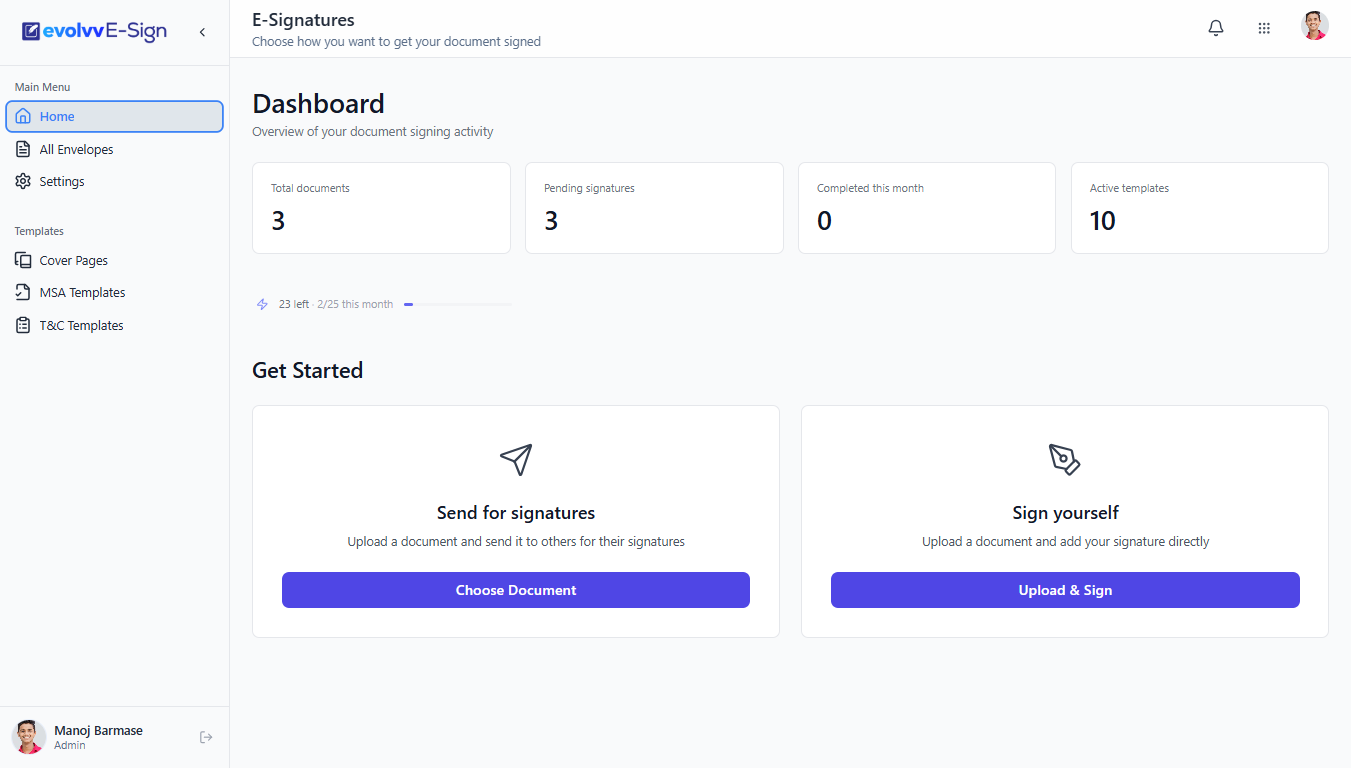
- Usage Tracking: Monitor how many signature requests you have left in your current billing cycle (e.g., 23 left this month).
- Get Started Actions: Jump straight into action using the two primary buttons:
- Send for signatures: Upload a document to securely route it to clients or vendors.
- Sign yourself: Upload a document that only requires your signature and bypass the routing process entirely.
2. Managing All Envelopes
In the e-signature world, an "Envelope" is the secure container that holds your document, its recipient data, and the legal audit trail. Click on All Envelopes in the left menu to track your documents.
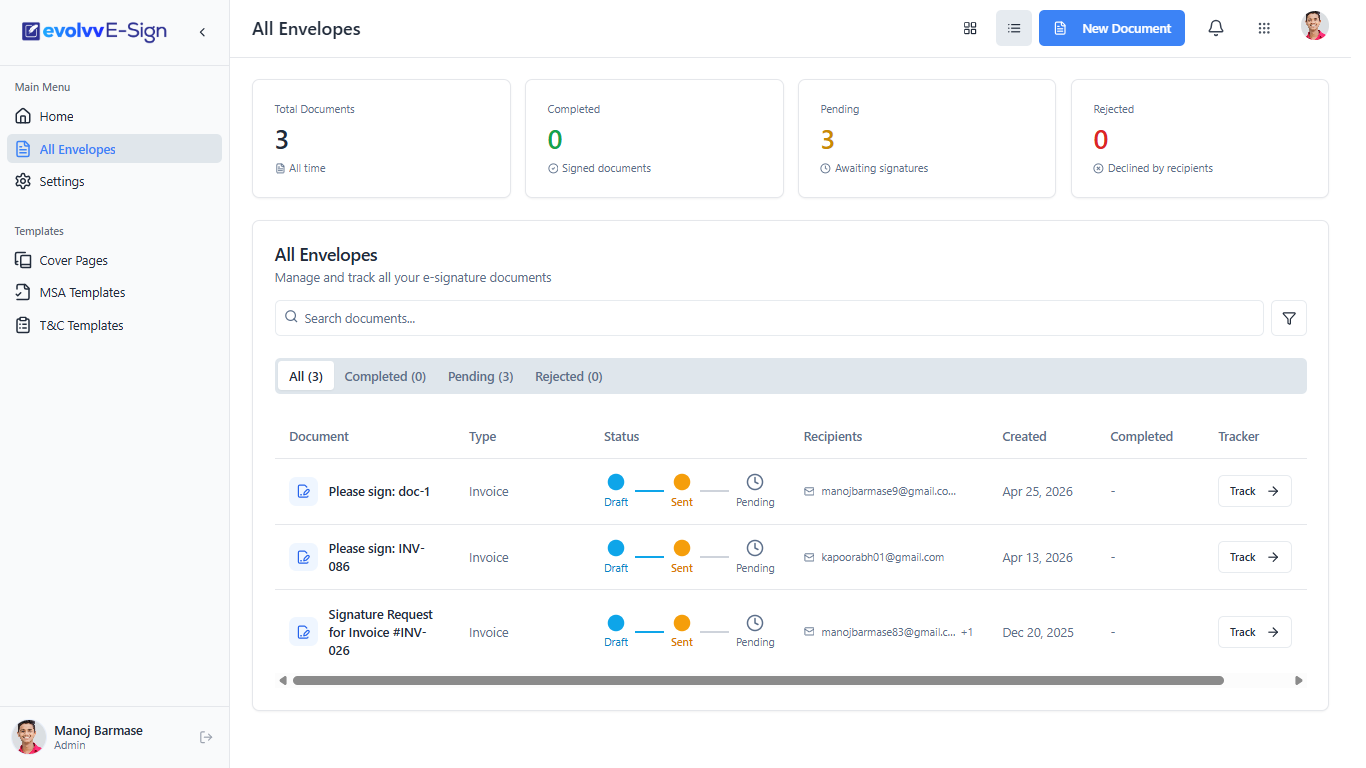
- Status Tracking: The visual tracker makes it easy to see exactly where a document is in its lifecycle (Draft → Sent → Pending → Completed).
- Filters: Use the tabs to quickly filter between Completed, Pending, and Rejected documents so you know exactly who you need to follow up with.
3. Configuring General Branding & Personal Signatures
Before sending your first document, it is crucial to set up your profile and brand identity. Navigate to Settings on the left menu.
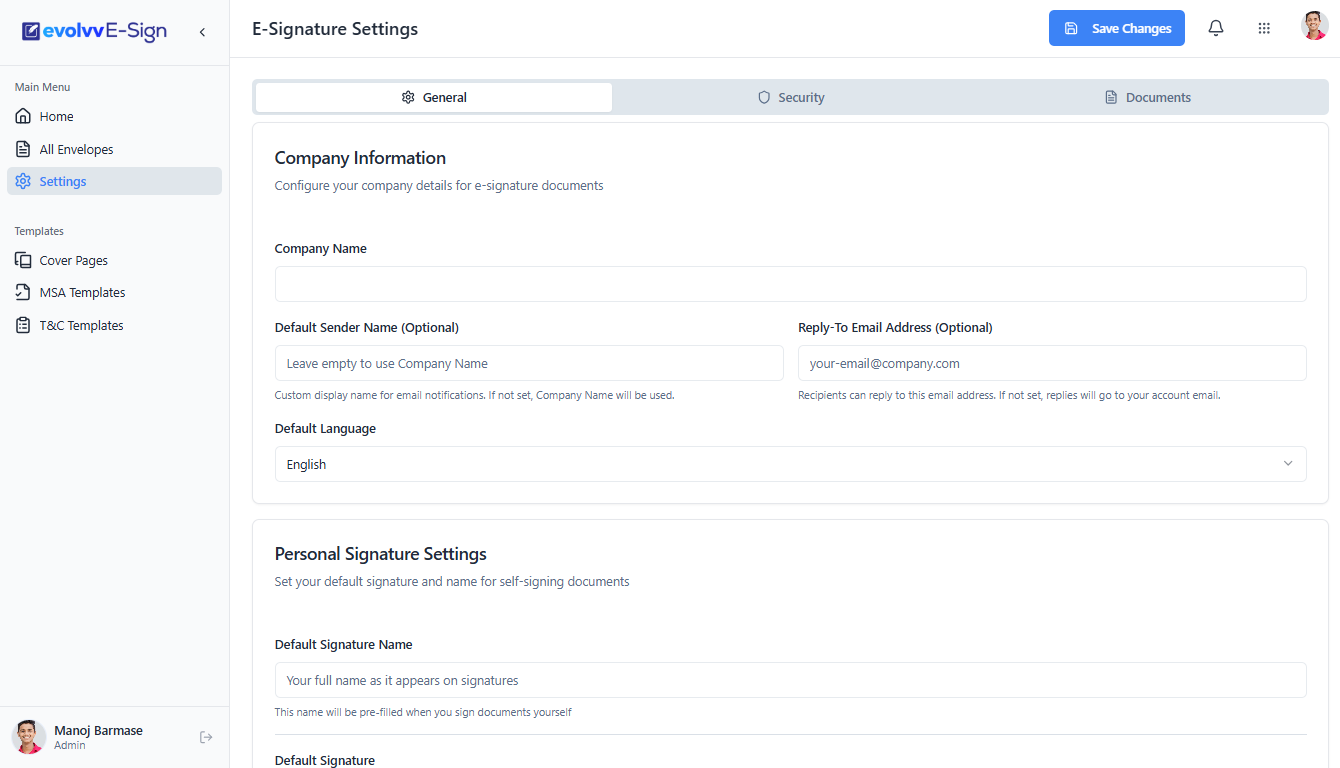
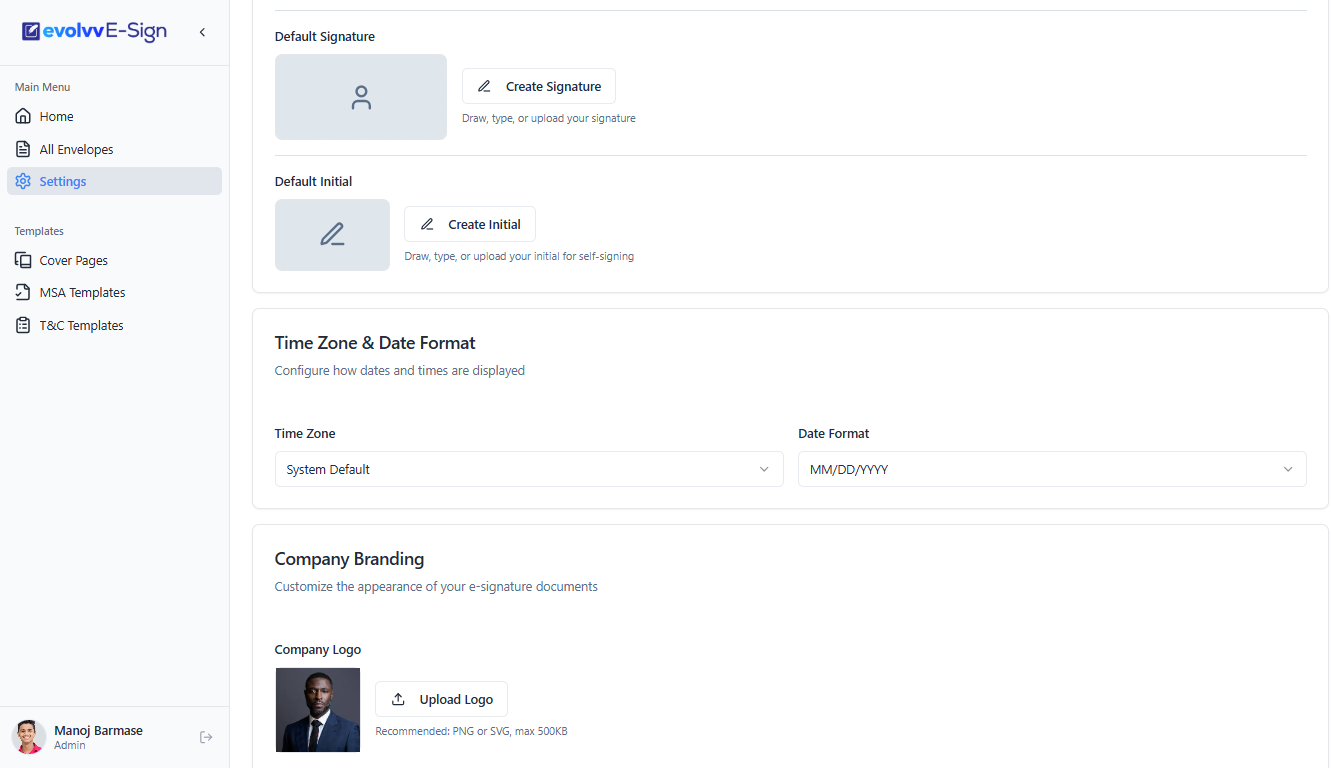
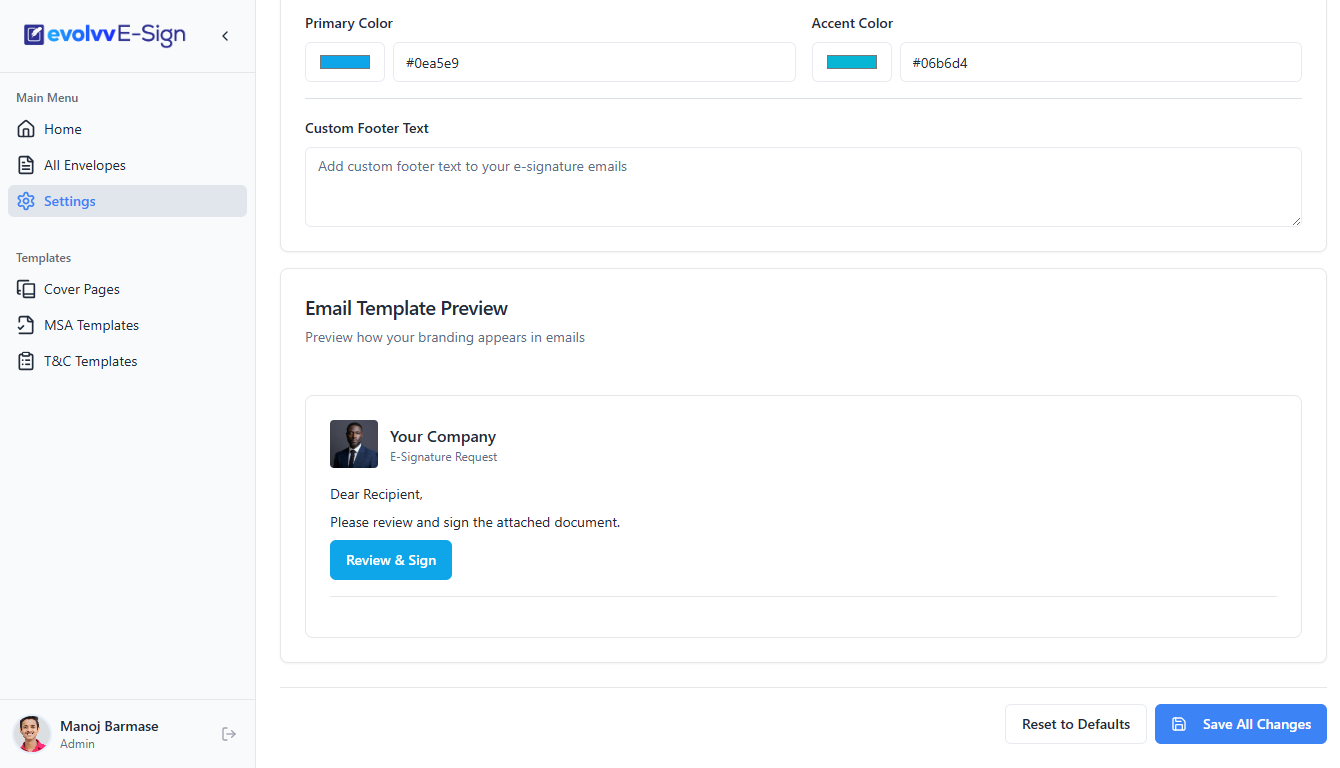
- Personal Signature: Draw, type, or upload an image of your actual signature so it is always ready for self-signing.
- Localization: Set your Time Zone and Date Format to ensure the legal timestamp aligns with your local jurisdiction.
- Company Branding: Upload your logo and set your primary hex colors to white-label the email notifications your clients receive.
4. Enforcing Security & Access Controls
Legal documents require strict access management. Within the Settings menu, click on the Security tab to configure recipient verification.
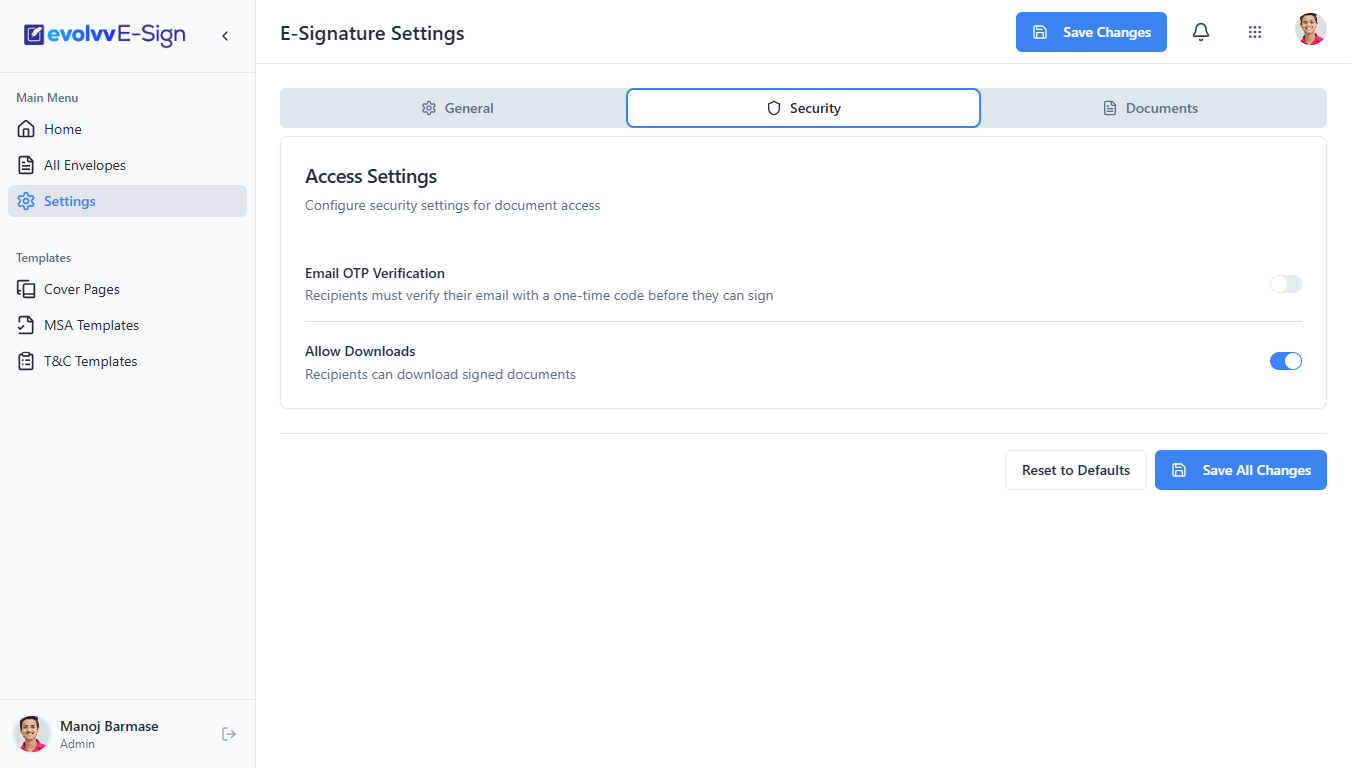
- Email OTP Verification: Toggle this on for highly sensitive documents. Before a recipient can view or sign the envelope, they must verify their identity using a One-Time Password sent to their inbox.
- Allow Downloads: Control whether recipients have the permission to download a local copy of the document after they have signed it.
5. Configuring Default Document Behavior
To save time when sending future envelopes, set your global preferences in the Documents settings tab.
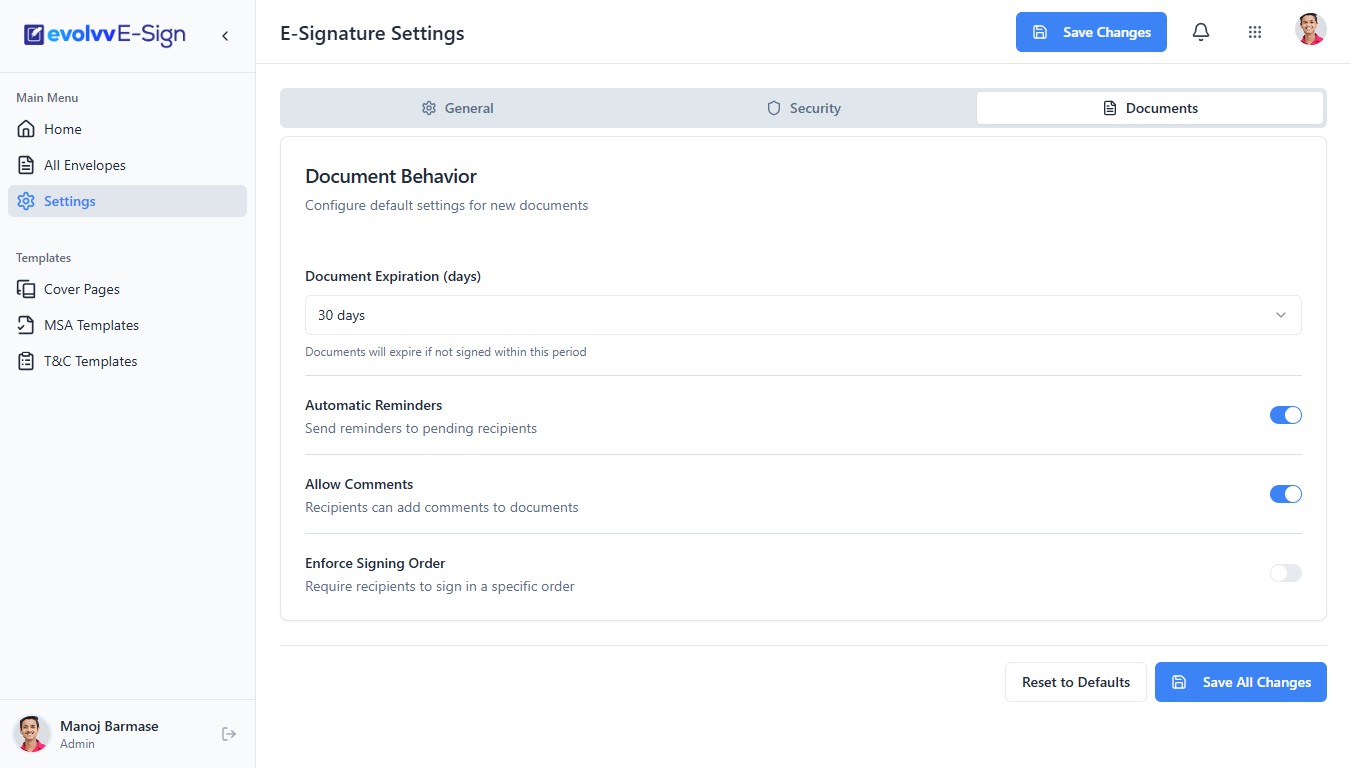
- Document Expiration: Set a default validity period (e.g., 30 days). If the recipient does not sign within this timeframe, the link expires automatically, protecting your offers.
- Automatic Reminders: Enable this to let Evolvv automatically follow up with pending recipients, saving you manual effort.
- Enforce Signing Order: If a document requires multiple signatures (e.g., the CEO signs only after the Client), toggle this on to ensure the envelope routes sequentially rather than simultaneously.
What's Next? Now that your branding, security, and defaults are configured, it is time to execute your first agreement. 👉 Read Next: How to Send a Document for E-Signature